
See this post for the finished quilt and the introduction to this tutorial. This part covers adding the background diamonds and forming the hexagons.

FORMING HEXAGONS
Start by placing a white background diamond over one diamond in the star.
Press the white diamond away from the star.

And, then press the seams open on the back. I burned my fingers a time or two pressing the seams open - so be careful!


(sorry about the busy background fabric here - don't know what I thinking!)
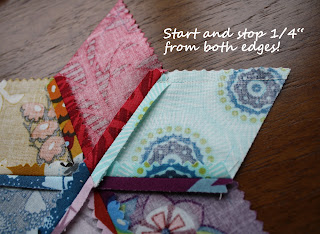
Flip the star over, and sew along the edge of the diamond. I found it easier to start on the left side of the photo below - 1/4" in from the edge - and stitch towards the pointy side stopping 1/4" from the end. Backstitch at the beginning and end of your stitches.

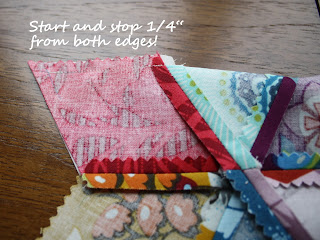
Then, fold the white diamond to match it to the other diamond that is part of the star (the red diamond in these photos). Stitch from left to right (in photo below) - starting and stopping 1/4" away from the edges.


(Sorry, horrible and blurry photo!)
And, then press the seams open on the back. I burned my fingers a time or two pressing the seams open - so be careful!

I probably got a little carried away with spray, but I always sprayed the seams every time I needed to press them open. It just helped things stay put - and not stretch when piecing.

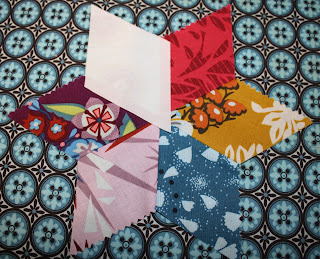
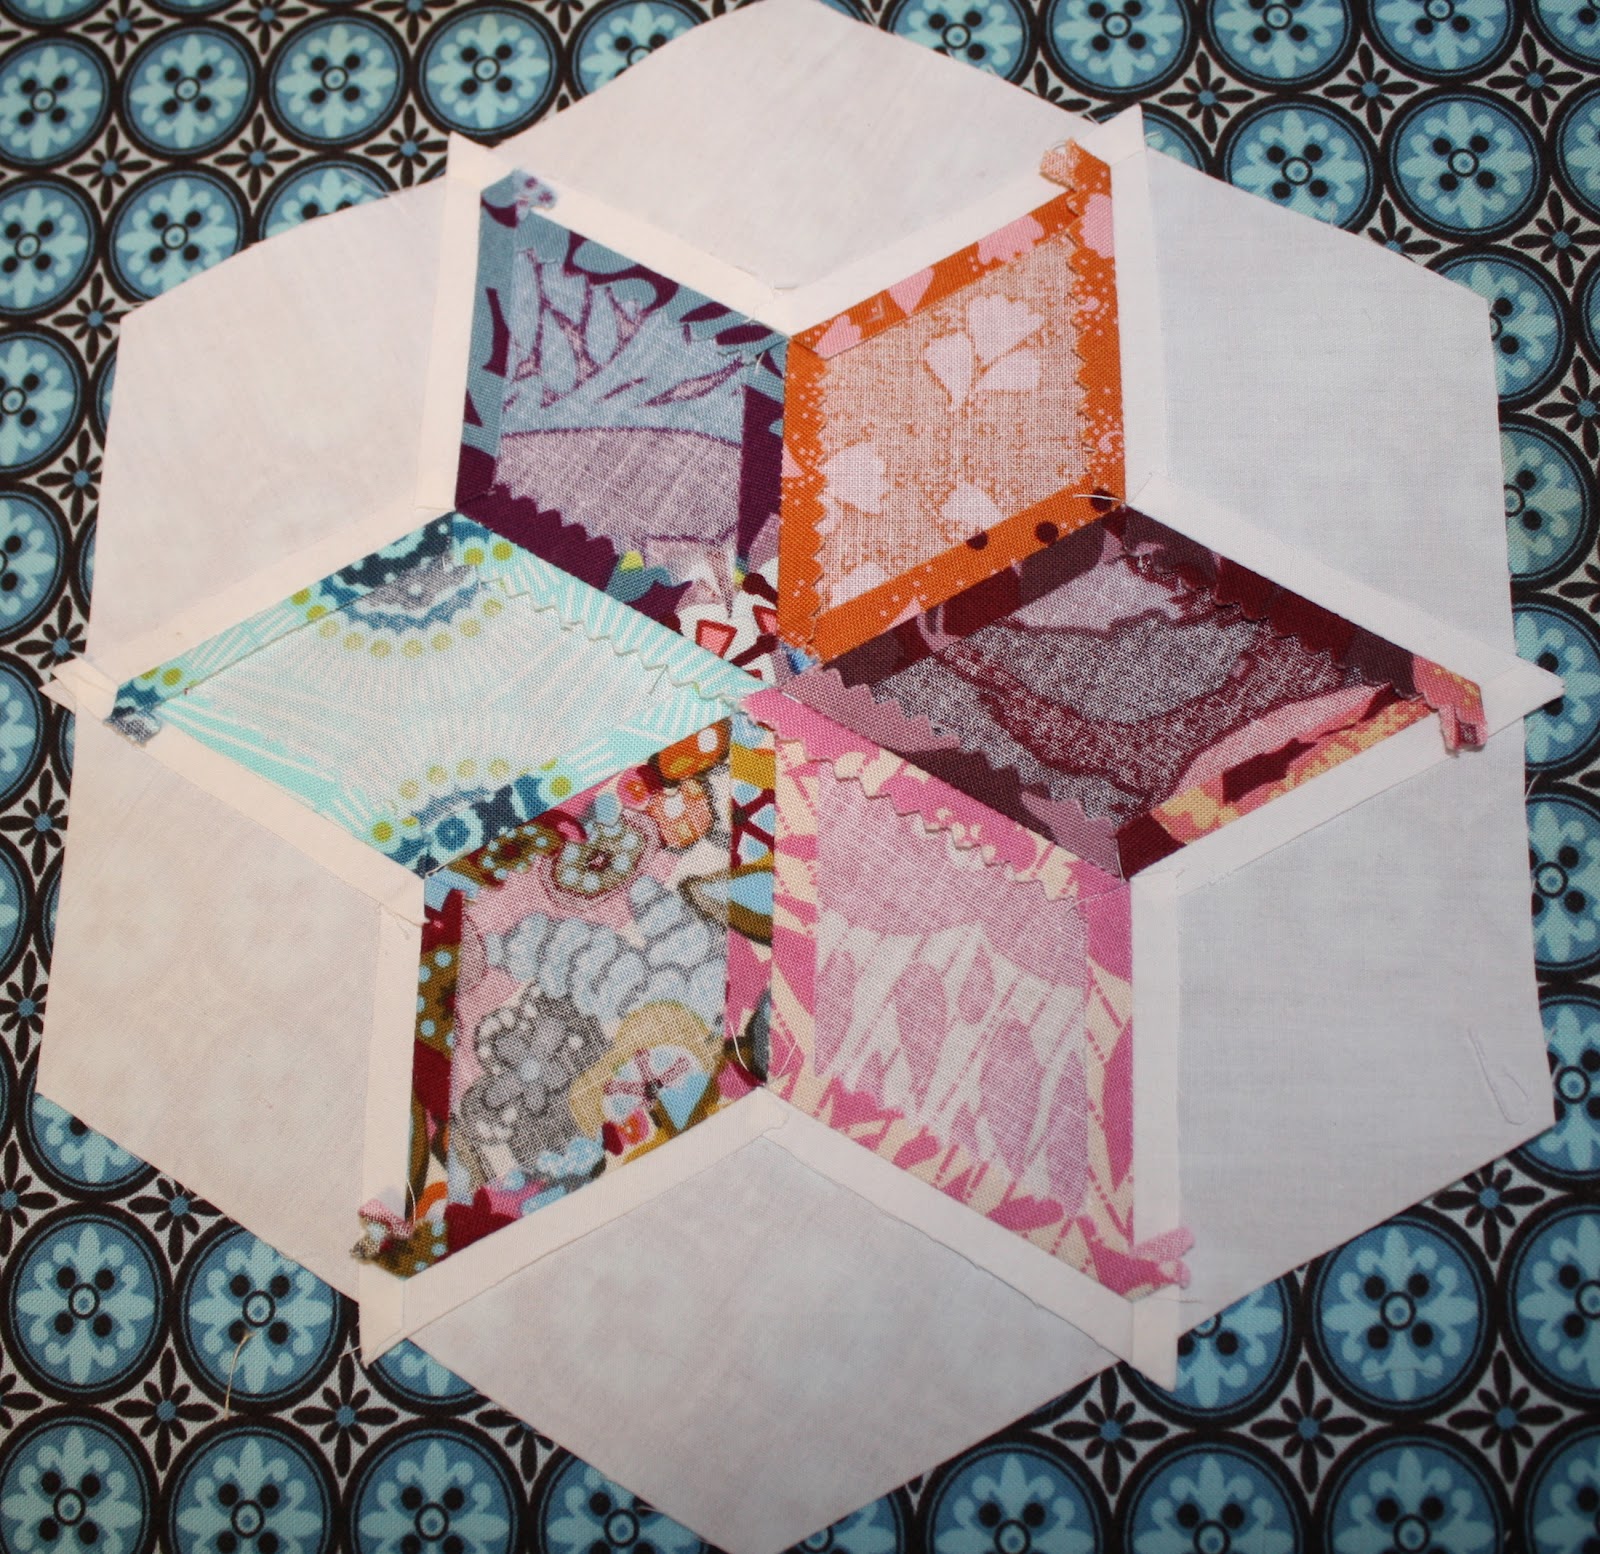
Continue adding the 5 other diamonds using the same method and rotating around the star. When finished it will look like this from the top:

And on back:
Repeat until all stars have the background diamonds added to form hexagons. The 8 half stars should be handled exactly the same - except you'll have to trim the excess white diamond fabric off to line up the edges. The half-stars should look like this when finished.

When complete, you should end up with 44 hexagons and 8 half-hexagons.

Continue along to Hexy Stars Tutorial - Part 3!!
No comments:
Post a Comment